Honey and Cinnamon Sunflower Seed Butter

A couple of weeks ago I found this link for Cinnamon Maple Sunflower Seed Butter. http://www.gypsyforest.com/welcome_to_gypsy_forest/2012/09/cinnamon-maple-sunflower-seed-butter.html  I needed to make some to try a version of Buckwheat Granola Clusters that Narf from Serendipity Farm had created. The link for the butter and one other was on her post, along with her recipe. I don’t have time to do the recipe for that today (will in a day or two) but here is Narf’s link and how she made both her butter and cereal. http://theroadtoserendipity.wordpress.com/2014/01/29/narf7s-bolshie-blissful-buckwheat-granola-clusters/

This sunflower seed butter is the yummiest stuff, it would be perfect for those who enjoy nut butters but have allergies, and it’s certainly an economical change from peanut butter! This made around 2 cups and rather than use maple syrup as in the original recipe, I used honey…real maple syrup is way too expensive here and varied the recipe a little. This is good….this is ‘eat straight out of the jar nearly every time you pass it’ good!

Sunflower Seed Butter:

2.5 cups sunflower seeds

1/2 tsp salt

4 tbspn coconut oil

2 tsp cinnamon

1/2 tsp vanilla extract

2 tbsp honey

Toast the sunflower seeds (without oil) in a pan till turning golden. Stir often and take care not to burn.Image

Put into a processor with other ingredients and process for 5 minutes or so, scraping down the sides of bowl often.

Image

In time the mixture will become a rich and creamy mass of yummy. I left mine still a little of the crunchy side because that’s how I like peanut butter. Store in glass jar.

Sunflower Seed Butter

Sunflower Seed Butter

Freezing eggs and preserving….my busy time of the year.

And so it starts – all those tiny seeds planted in spring by an very exuberant husband pays off in a barage of “stuff to do something with” now. There is 2- 3 months ahead of me in food processing and most days I love it, some days I wonder why on earth we do all this. Once it’s all finished though and we get to step back and see the years food all sitting there, it’s a satisfying thing.The garden is flourishing and gaps have been newly planted for autumn, the last chance to grow for winter food – bar the raised garden of greens out in the front yard and “yay” the glasshouse this year.

Freezing eggs: We normally give surplus eggs away but have started freezing them for use over winter when laying is minimal. It makes no sense to give them away and buy over winter. Whole eggs can just be stirred (not whisked as it gives too much air) and frozen in ice cube trays or zip lock packages with the amounts on. Our eggs are quite large so two cubes equals one egg (for baking)Image

My provident journey did this post on freezing eggs which people might be interested in if wanting to freeze yolks and whites separately http://myprovidentjourney.wordpress.com/2013/10/07/provident-uses-for-your-freezer-eggs-other-things-i-havent-tried/

Beetroot/Beets: 

Image

Beetroot is one of our favourite vegetables to grow – I think so far we have planted over 200 or so with more to come. It’s easy, virtually disease and pest free, has a good leeway when it can be harvested so can be preserved when I have the time, both the bulbs and leaves can be eaten and it’s super healthy. We use it nearly every day either grated in salads, roasted, juiced (except I blew up my juicer forcing beetroot into it!) and we bottle heaps of it. It’s a good food to have in sandwiches through winter when tomatoes aren’t available. https://quarteracrelifestyle.wordpress.com/2013/03/02/spiced-beetroot-preserving-recipe/

Spiced Beetroot is a delicious recipe for bottling and we make it every year
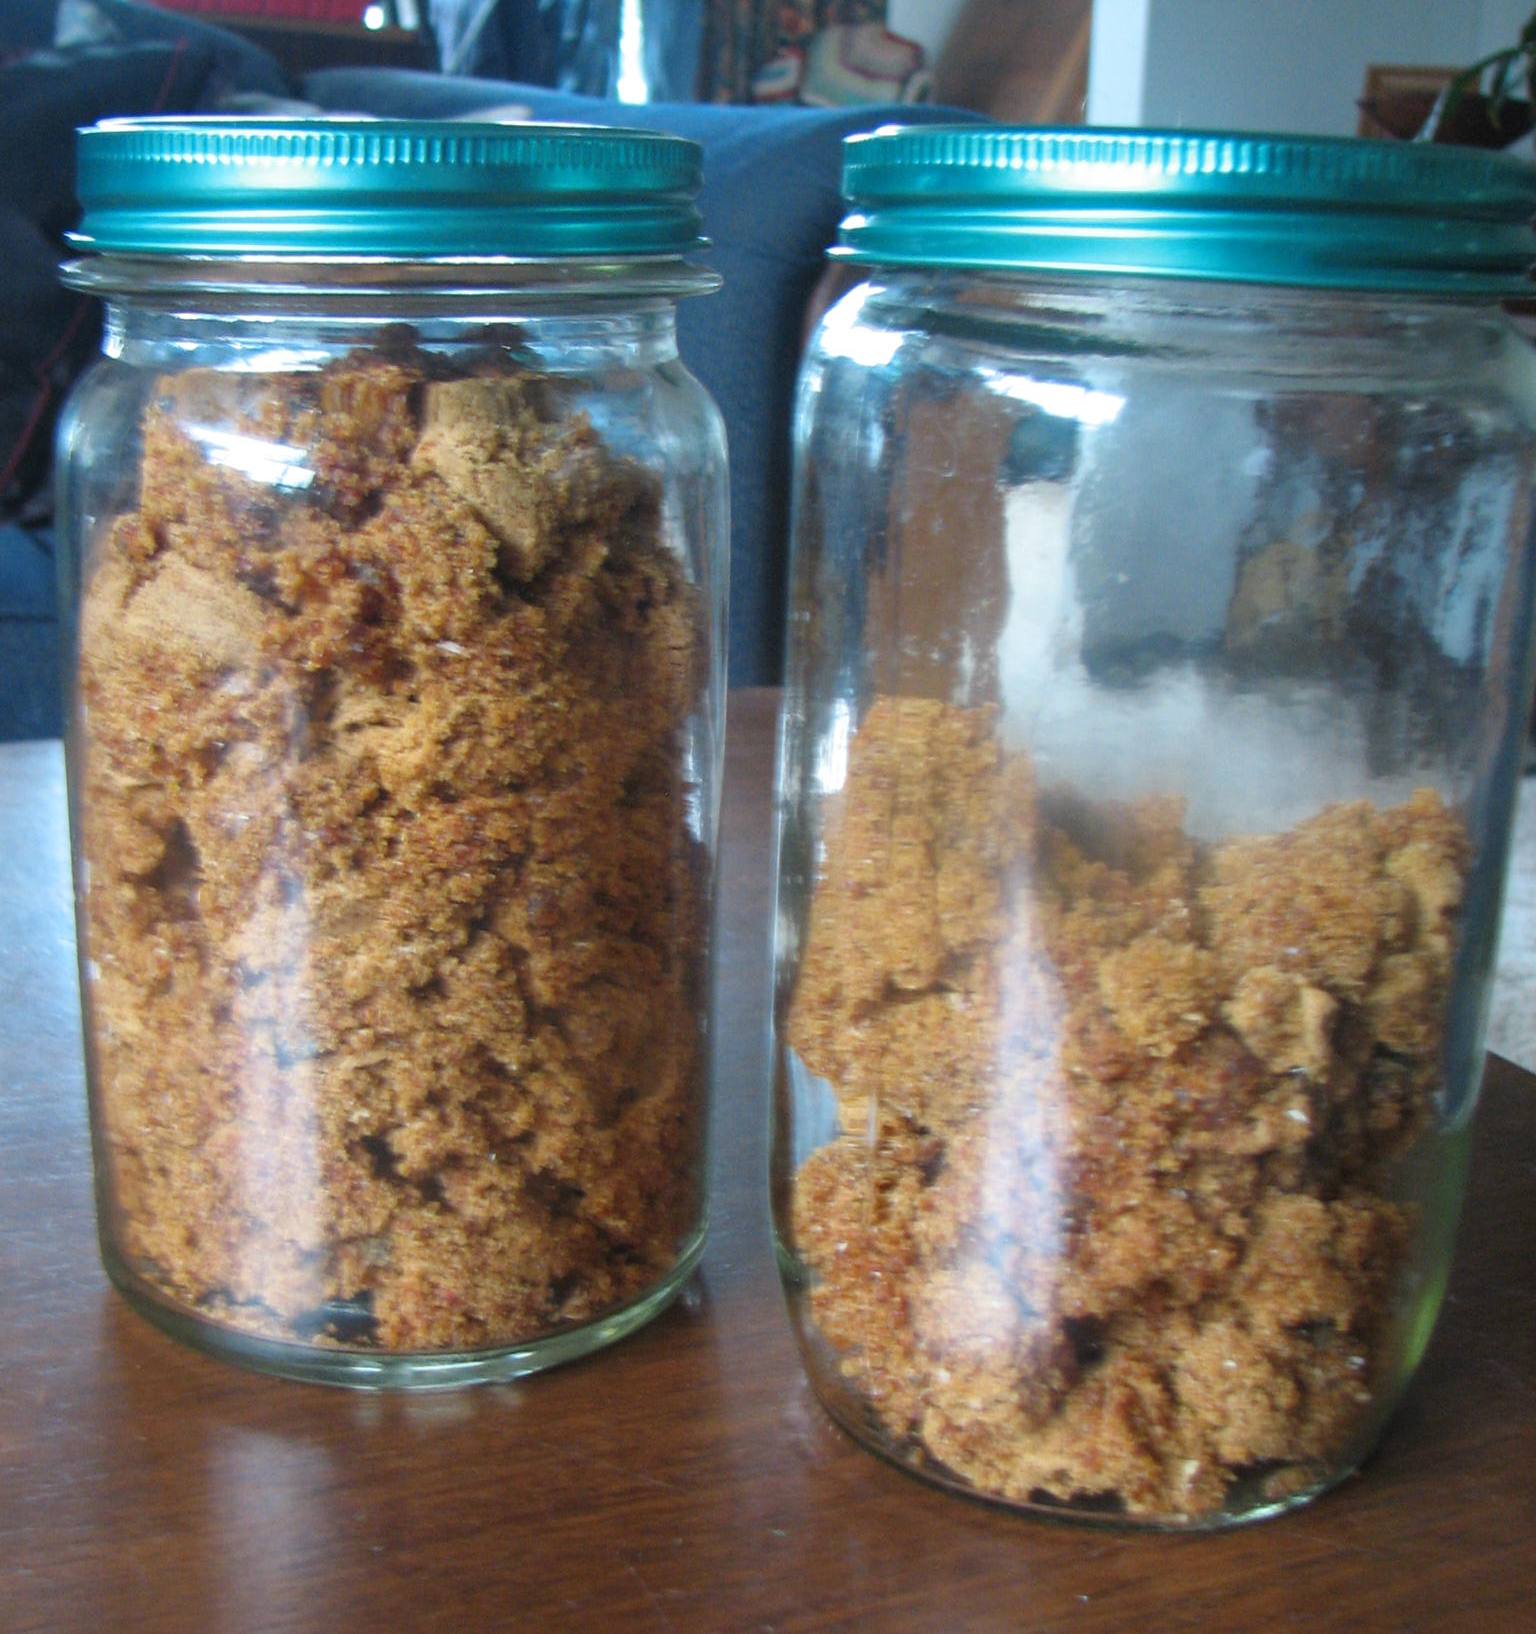
Image

Beetroot Chutney

Image

The recipe for this I found at http://hopeeternalcookbook.wordpress.com/2009/10/30/beetroot-chutney/ I had never tried it before so made just one quantity to try it. This has alot of ginger in and is spicy/gingery. I like it but I don’t think hubby will. Note my labels 🙂 🙂 This is so the lady of the house who wears reading glasses but doesn’t bother when getting food from the pantry, doesn’t serve up feijoa jam to go with cold meat when we have guests….again! I needed something BIG. I found these labels and was rapt, they peel off so next season I don’t need to soak anything off. A bonus, and worth every cent.

My husband refuses to eat the leaves cooked (though he will eat small ones in a salad) but I saw this recipe earlier in the week and really want to try it, it looks utterly delicious http://backyardfarmer.co.nz/2014/01/28/ricotta-and-beetroot-tops-pasta-one-of-the-best-pastas-i-have-ever-eaten-and-i-have-eaten-a-lot-of-pasta/

Zucchini:

Image

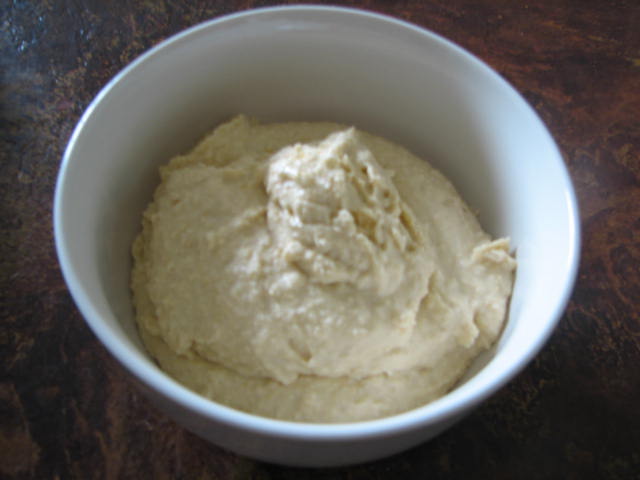
:):) Yep, we have a glut, especially as Roger planted 6 plants this year because he really likes the chutney I make and this vegetable is so versatile. We are giving it away left, right and centre lol. But I am freezing some, making heaps of the chutney because it gets ladled onto to everything all year long and we are eating it every night. I tried zucchini chips but they didn’t work out – I will try it again at some stage.

Image

Yesterdays harvest minus the four marrow I gave away.

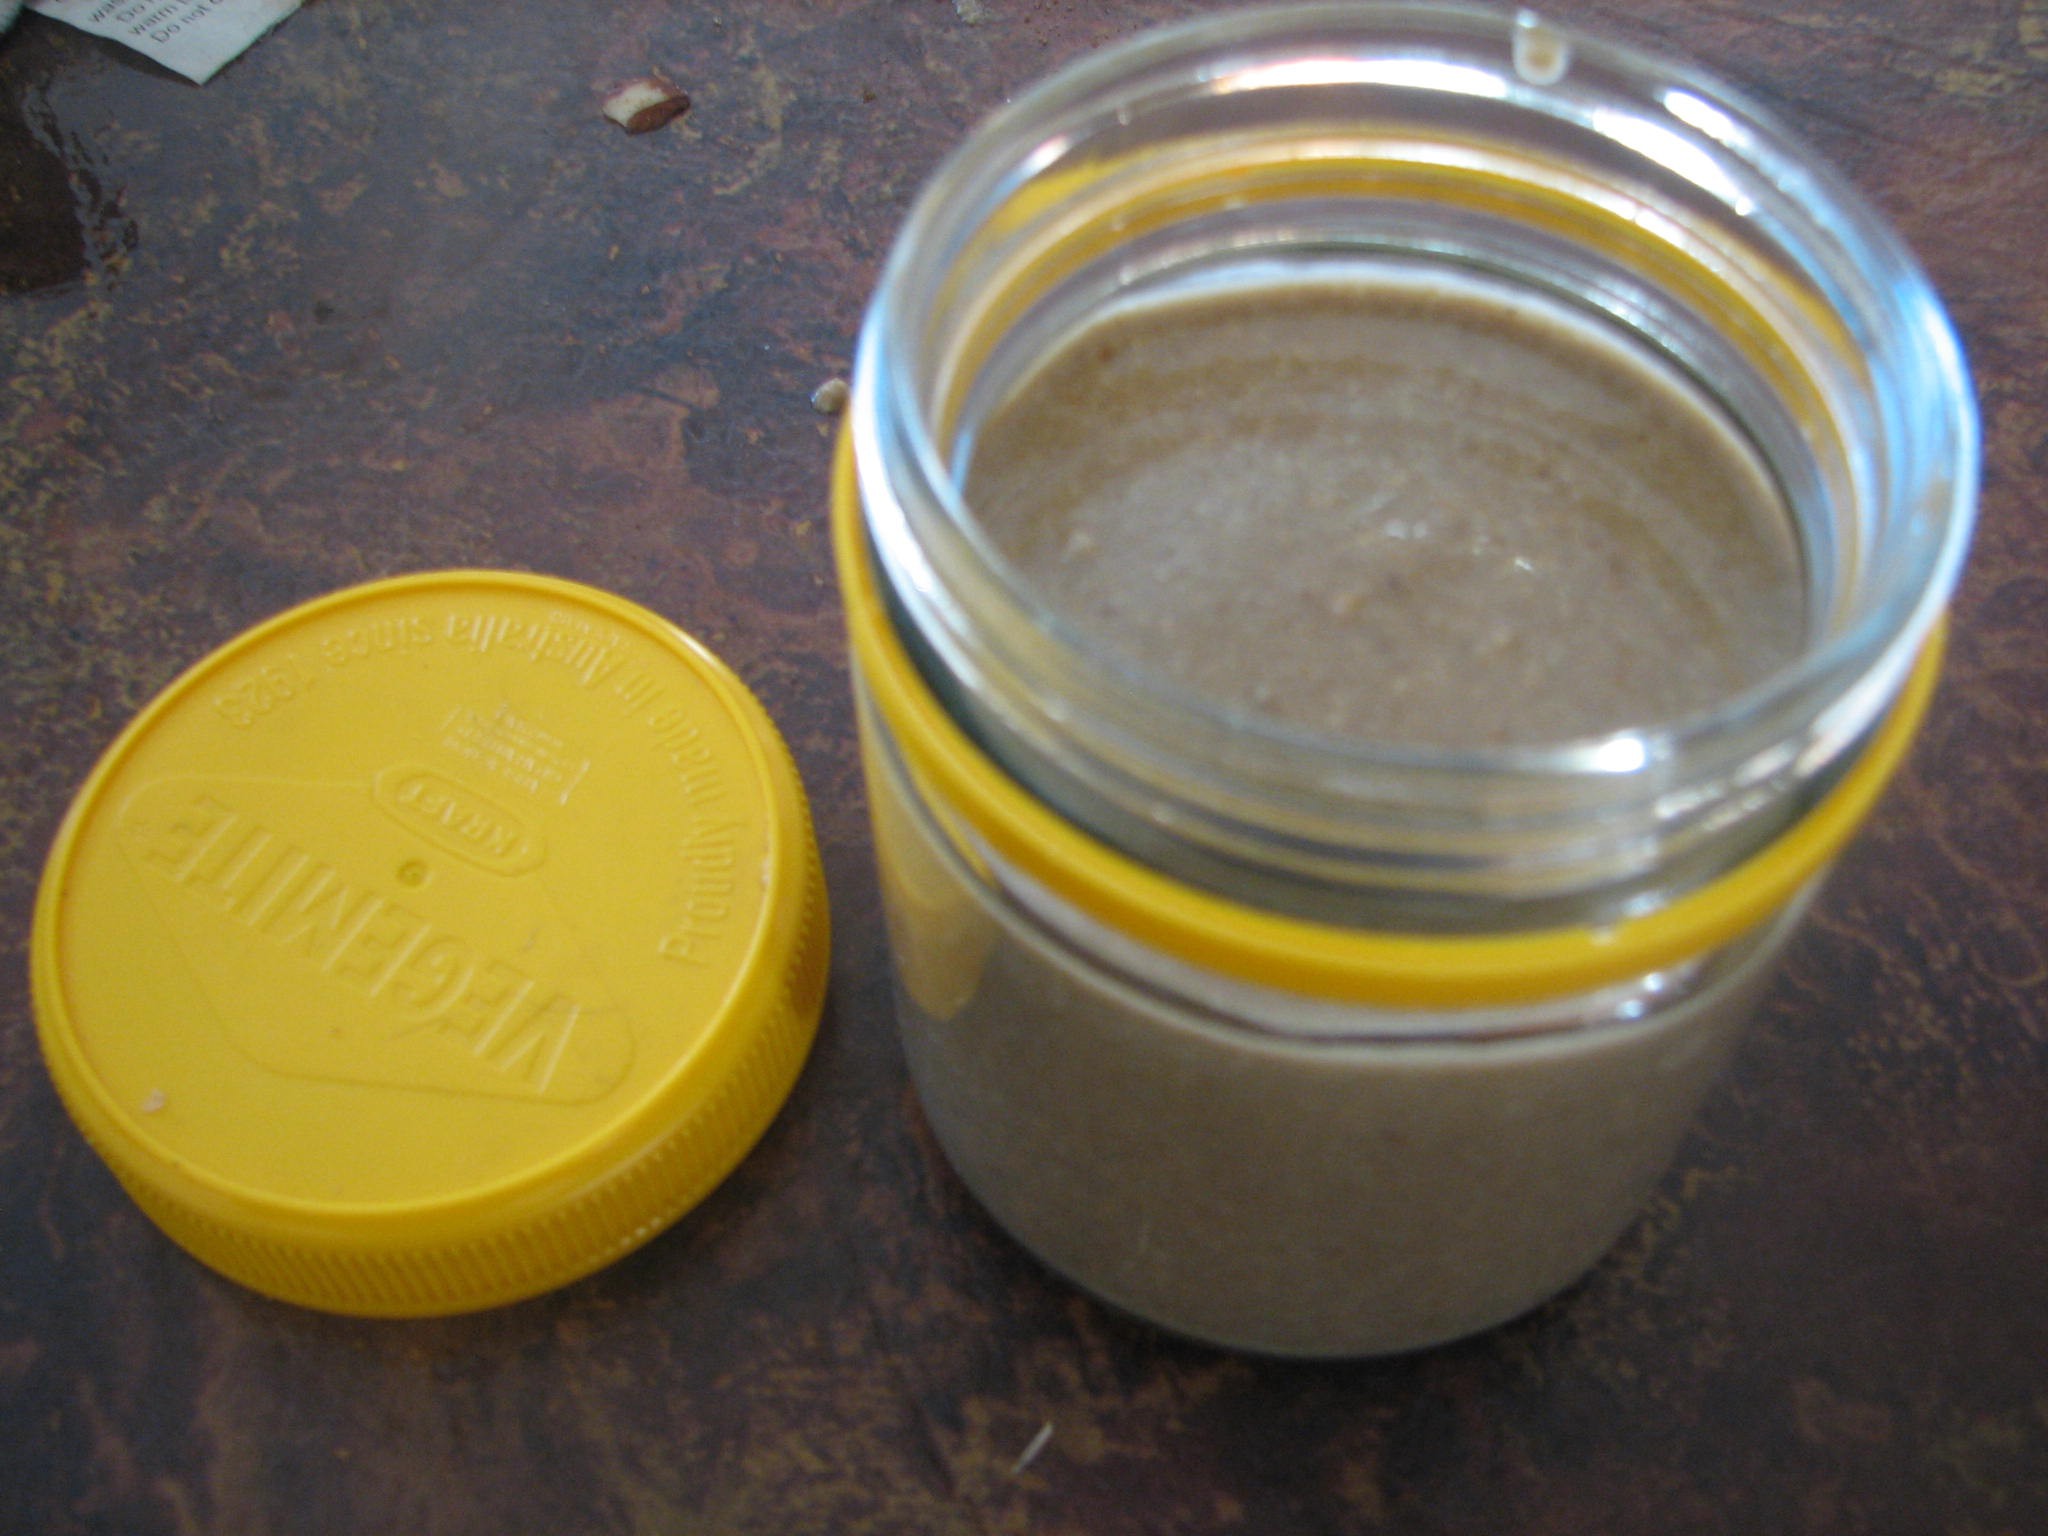
Raspberry Liqueur: A friend of ours who makes his own spirits kindly made us a batch of vodka. I would never buy vodka but wanted to try making my own fruit liqueurs and this is affordable and can be used with many different fruits. 1 lb of fruit, 3 cups of vodka and 1 1/2 cups of sugar. Leave to steep for a month, shake or stir regularly. Strain, sit a month then filter and rebottle, leave at least 3 months before drinking. Yep, I know….3 whole months!! I wonder if the same thing will happen that happened with our wine, drunk too soon but it was very good!

Image

I have slowly been adding dried vegetables to a large jar of dried soup mix. We bought a metre and a half of aluminium fly screen netting to place on top of our oven racks and vegetables can be tried overnight at 50 – 60 degrees. I have done carrots, beans, onions, pumpkin to add too lentils, barley, herbs etc. This is slow going but given I used to buy a packet of stockpot mix as a base to each pot I made I figure at least I know what is in my homemade.

Image

Garlic Hummus

Hummus is so simple to make and is cheap to do. A wee pot of it here costs around $3 – $4 but a batch of around 1 1/2 cups can be made for less than $1.50. I also prefer the taste to commercial hummus.

Image

I use chickpeas that have been cooked and frozen in bags. Instead of Tahini I use sesame seeds that have been ground in an old electric coffee grinder.

11/2 cups chickpeas

3 tabslespoons sesame seeds, ground

3 cloves garlic

1/2 tsp salt

4 tbspn lemon juice

1/4 – 1/3 cup olive oil

Throw all in a kitchen whiz and process until smooth, adding as much olive oil as is needed for a smooth, creamy texture. To serve drizzle with a little extra olive oil.

This basic recipe can be used with heaps of other options. Roasted garlic is nice in it rather than fresh but I don’t find it worth the hassle of doing it especially. Roasted pumpkin or sweet potato can be added (with garlic omitted) as can sundried tomatoes, roasted capsicum.

I would’ve shown it in a nicer dish surrounded in nice fresh vegetables from the garden but we had visitors and no time to take a photo so apologies for the less than exciting photo of it 🙂

Garden Harvest Vegetable Stock

Image

For some weird reason this got me all excited lol. I am intrigued by it – this is a very different way of making vegetable stock! I should call my blog Stumble Upon because invariably what I show in my blog is other’s ideas and recipes I have stumbled upon out of need for something. I am thankful to http://myovercrowdedgarden.blogspot.co.nz/2013/10/homegrown-vegetable-stock-mix.html for putting this on her blog.

I had been wanting a natural vegetable stock powder. Commercial ones are too expensive, the thought of having to dehydrate and muck around creating my own was sounding like a long drawn out process. This looks perfect to try. It has a large amount of salt which preserves the paste for 6 months. The other thing that appealed was this looked a good way to use some of the frozen vegetables left from last season that have not such a great texture but still taste ok. For this I used a combination of fresh and frozen and am hoping the frozen doesn’t cause any deterioration in the storage time so it is an experiment. 2/3 of the vegetables are fresh though.

Basically 950 g of vegetables (any combination desired) are needed per ration of 250 g salt. Plus the garlic, herbs etc.

For this I used:

200 g pumpkin

200 g carrots

200 g leeks

100 g spinach

100 g onions

A few sundried tomatoes and cloves garlic

A large handful parsley and thyme

250 g salt

Put all in a food processor and process until smooth. This may need to be done in batches and combined at the end. Put into sterilised jars and apparently this will keep for 6 months in a cool, dry cupboard.

I seriously need to find another processor! Mine was bought secondhand about 8 years ago and the blades are quite blunt, hence this didn’t get quite a smooth as I would’ve liked but close to.

Image

Use a couple of teaspoons in soups, stews etc and season after adding this and doing a taste test as it is highly salted.

Nut milks (and using leftover pulp)

I just changed from dairy to nut milks a couple of weeks ago. This is expensive to buy, it’s cheaper and very easy to make. I will be making the walnut milk in future as we have heaps of these already. A bonus using the almonds is the leftover pulp which is delicious and can be used to lots of different ways.

Almond Milk:

Take one cup of almonds and soak in two cups of water for a minimum of four hours (overnight is fine).

Image

Drain and rinse the nuts. I leave the skins on feeling no need to remove them, the resulting milk is still white.

Put the nuts in a blender with 3 cups of fresh water. Blend till milky and almonds quite fine. Strain through a fine sieve or

muslin.

Image

That’s it 🙂

IMG_2893

(Edited) see Narf’s interesting comments below about how she makes her almond milk.

Walnut Milk:

Made the same way as above but us 4 cups water. The walnuts are alot softer and I find very little pulp remains at the end.

Almond Meal:

Image

This can be used as is or dried in the oven on a low temperature for several hours. It can also be frozen if desired for later use. I have been using it in smoothies, porridge and baking but am wanting to try some “cheeses” and pates. Below are some links for some recipes I have tried that are both delicious (the pulp must be dried for both) and a link for some others that sound nice.

Coconut and Almond Macaroons:

8oz dried almond meal

3/4 cup toasted coconut

2 egg whites

1 1/4 cups sugar

1/2 tsp vanilla

Preheat oven to 300 deg. Toast coconut by putting into small fring pan and cooking over lowish heat, stirring till golden. Line a baking tray with baking paper. Whisk the egg whites, sugar and vanilla together till blended and add to combined nut mixture. Drop heaped tablespoonsful (is that a word?) onto tray and bake till browned around edges and golden on top.

IMG_2888

Quinoa Almond Joy Bars:

IMG_2900

The recipe can be found here http://skinnyms.com/skinny-mini-desserts-quinoa-almond-joy-bars/

And a link with a few nice recipes is here http://cafe-janae.blogspot.co.nz/2008/07/what-to-do-with-nut-pulp.html

And one for Banana Bread courtesy of Jamie 🙂 http://www.elanaspantry.com/paleo-banana-bread/

Homemade Date Sugar

I have not been able to buy this in our area, let alone price it – this worked out very cheap to make. I got the directions from here http://butterbeliever.com/how-to-make-your-own-date-sugar, she used medjool dates but I used packaged dried dates purchased on special at $1.60 for 400 g. One packet gives you one large preserving jar full.

I dried the dates for 4 hours on 125 deg f, turning often. These were very soft and sticky and I didn’t think it was working so turned off the oven and left them overnight to find rock hard dates this morning.

Image

The person in the link above cooked them quicker on a higher temperature but I didn’t want to risk burning (I tend to forget things in the oven!)

The dates were then ground in the coffee grinder, they can be done in the food processor but I didn’t think my old one would handle them. The sugar produced is sticky and clumpy – I am thinking when brown sugar goes hard a way to soften it back is to put in a piece of apple and I am going to try this just out of interest to see if it makes any difference to the texture of it (added a week later, this did NOT work, but putting in a microwave or basin of warm water before use does.  It will still be fine for baking etc, very nice on porridge, similar to brown sugar, I am really pleased with it.

Image

Homemade Apple Cider Vinegar (From Scraps)

After bottling a pile of apples last month I decided rather than put the scraps into the compost I would try making vinegar with them first. I feared it had not turned out correctly as it is pale in colour rather than golden but after researching have found this is typical for homemade. It smells and taste like cider vinegar.

This should be made in large glass or crockery jars, I had to use large 2 stainless steel preserving pans.

I got the instructions from here and it goes into more detail than I am doing here. http://thehealthyeatingsite.com/apple-cider-vinegar-recipe/

Basically you put the scraps into the vessels and leave to air for 3 or 4 days, covered with muslin or cheesecloth to keep out foreign bacteria and insects etc. The cloth has to be one that will allow fruit to breath and collect yeasts from the environment. Toss the fruit daily.

Once it has turned brown cover in water and cover with cloth again. Stir the fruit daily for a month or so, until the liquid is of the strength you desire. Mine took 5 – 6 weeks. Strain into glass bottles and store in a dark place. Very simple, the hardest part is straining it which is  time consuming if doing a large batch.

The vinegar will grow a “mother”, a thick jellyish substance that is perfectly normal and can be reused if making more vinegar.

Image

Apparently this can be filtered through coffee filters to improve the clarity however I am ok with it like this and not about to rush out and buy coffee filters for it.

This can be used for all other uses other than preserving apparently as one cannot guarantee the strength etc needed for preservation.

For other types of fruit scrap vinegars go here: http://rockfarmer.me/2012/10/05/its-fruit-scrap-vinegar-season/, she has some lovely looking ones I have yet to try 🙂

Crockpot Yogurt, yogurt “ricotta” and Labneh (Yogurt Cheese)

I have only bought yogurt sporadically this year and wanted to try making it. The net abounds with versions of crockpot yogurt and labneh, which looked too good not to try for a girl who likes her creamy things!!

I can access farm milk locally cheaper but do have to drive some distance to get it so thought I would just splash out, try everything and see how we went with it before I make a trip down to this farm. I will be making these alot, I am so pleased with how it turned out. The starter yogurt just has to be bought initially. You need 1 tub, or 1/2 cup for each litre of milk. These were 60c each and the milk $2.50 per lire carton. So, it cost just over 1/2 the price for 2 litres of greek yogurt (if not on special).  Postnote: I have been making this since this with normal dark blue lidded milk, for half the price again.

I do apologise for quality of photos, my kitchen is so dim. I didn’t take photos of the process either sorry.

I started with this:Image

Put the milk into a crockpot on LOW. Keep on low for 3 hours. After this time turn it off and leave it to cool until you can hold your finger in till the count of 10, between warm and hot! Take 2 cups of milk out and mix through the yogurt, return all back to crockpot and stir through well. Wrap the crockpot in a large thick towel (or blanket) and put in the oven WITH THE LIGHT TURNED ON, overnight or for up to 12 hours.

You then end up with this, 2 litres of yogurt. Very simple. Mine was quite thick already and thickened up more on refrigeration. This will last a week or so in the fridge. Remove and reserve 1/2 cup for each litre of milk you want to make into yogurt next time as a starter. You never need to buy the starter again.Image

I prepared a straining basket with 3 layers of cloth (I used a couple of linen teatowels) and placed over a bowl. I tipped just over a half of the yogurt into a cloth, refrigerated this for around 15 hours and ended up with a delicious soft curd similar to ricotta cheese with a slightly sharper taste. Delicious and just begging for a cake to be used on.

IMG_2326

Some was taken off to eat like this and the rest returned to the basket for another 8 hours.Image

If making Labneh straight from yogurt it is suggested to leave draining for 24 hours.

Labneh balls:

With oiled hands take off golf ball sized pieces and roll into balls, roll in fresh herbs if wish, and place gently in a sterilised jar. Cover with olive oil as you do each layer. The balls will last refrigerated for at least a couple of months.Image

The whey has also been saved to use in smoothies. I have seen suggestions it can be used in place of buttermilk.Image

Thick Mint Sauce Recipe

After searching for ages I found a really nice recipe for mint sauce. This is a richer, thicker mint sauce than others I have tried which always disappointed.

1 litre of malt vinegar

800 g brown sugar

1 – 1 1/2 cups cups of finely chopped mint

Bring the sugar and vinegar to the boil stirring to dissolve sugar. Simmer gently for 5 – 10 minutes (till a little has evaporated), then cool till just warm. Add mint, stir well, then bottle into sterilised bottles.

I wasn’t sure if this was going to be very economical, it cost around $4 to make. It filled one wine bottle and a recycled mint sauce bottle, the original mint sauce had cost $4 something.

mint sauce

I usually dry herbs in the oven but a friend has loaned me a dehydrator – never used one before and have been thinking of trying to buy a secondhand one.